This section is all about making more plants out of those you have. This means taking seeds from a plant’s fruit and germinating them or splitting plant clumps into smaller groups (common called division), or even slicing off parts from a healthy plant and “rooting” them (cloning)
There are many other techniques for propagating plants, but we’ll focus on those that are easy and don’t require special equipment
Feel free to leave a comment against any article, with any questions or any amazing successes or dismal failures! BTW: You’ll need an account to do that, just let me know
-
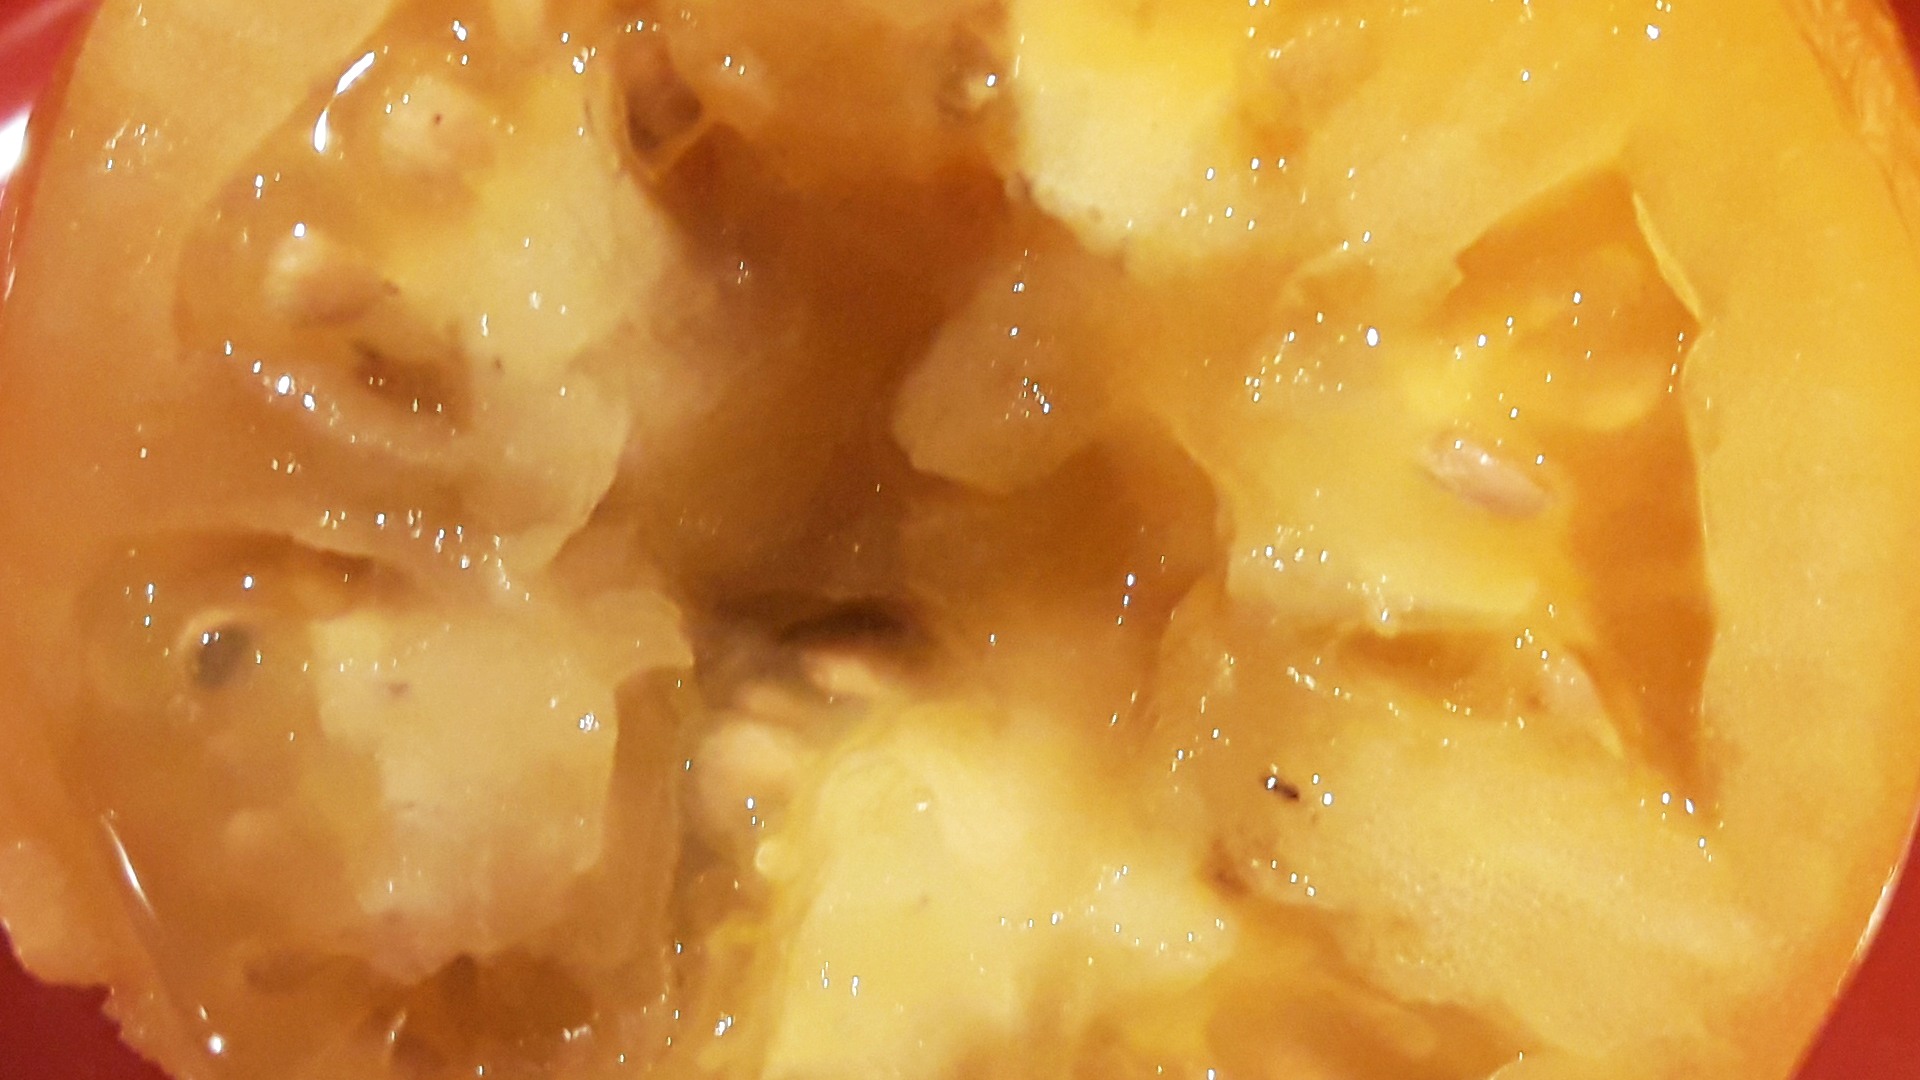
Tomato
Number #1 in the series of Makin’ Babies, the delicious Lycopersicon, sister of the deadly night shade and cousin of the humble potato
In this article we’ll learn how to take seeds from a ripe tomato, dry and store them and raise them into fully adult plants. This coming year (2025) we’re planning to grow more edible plants, and this tomato will definitely be present amongst them. For the observant ones, yes, this is a yellow tomato but no less tomato-like in its deliciousness. It was probably the original colour of the fruit when first introduced in Europe; this would explain why the Italians and south-eastern Europeans call it Pomodoro or Pomidor, which literally means “Golden Apple”!
I – Extract Seeds
This one is pretty obvious, but here are some useful tips

Find a ripe tomato that looks great, squishy and with a deep colour. This is to improve the chances the seeds will grow into strong plants with the potential to make yummy fruits. Tomatoes that are pale and hard, like cheap ones from supermarkets should be avoided, but are perfect for experiments and first-timers

Slice the tomato preferably across the middle than from the top, because the seeds fall out more easily, but it depends on the tomato – most have their seeds wrapped around the central core, but you’ll notice for bigger tomatoes (like “beef” tomatoes), they have many seed “chambers” located everywhere. Squeeze the halves lightly over a bowl until several seeds fall out. Scoop them out gently with a teaspoon if they won’t come
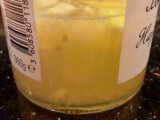
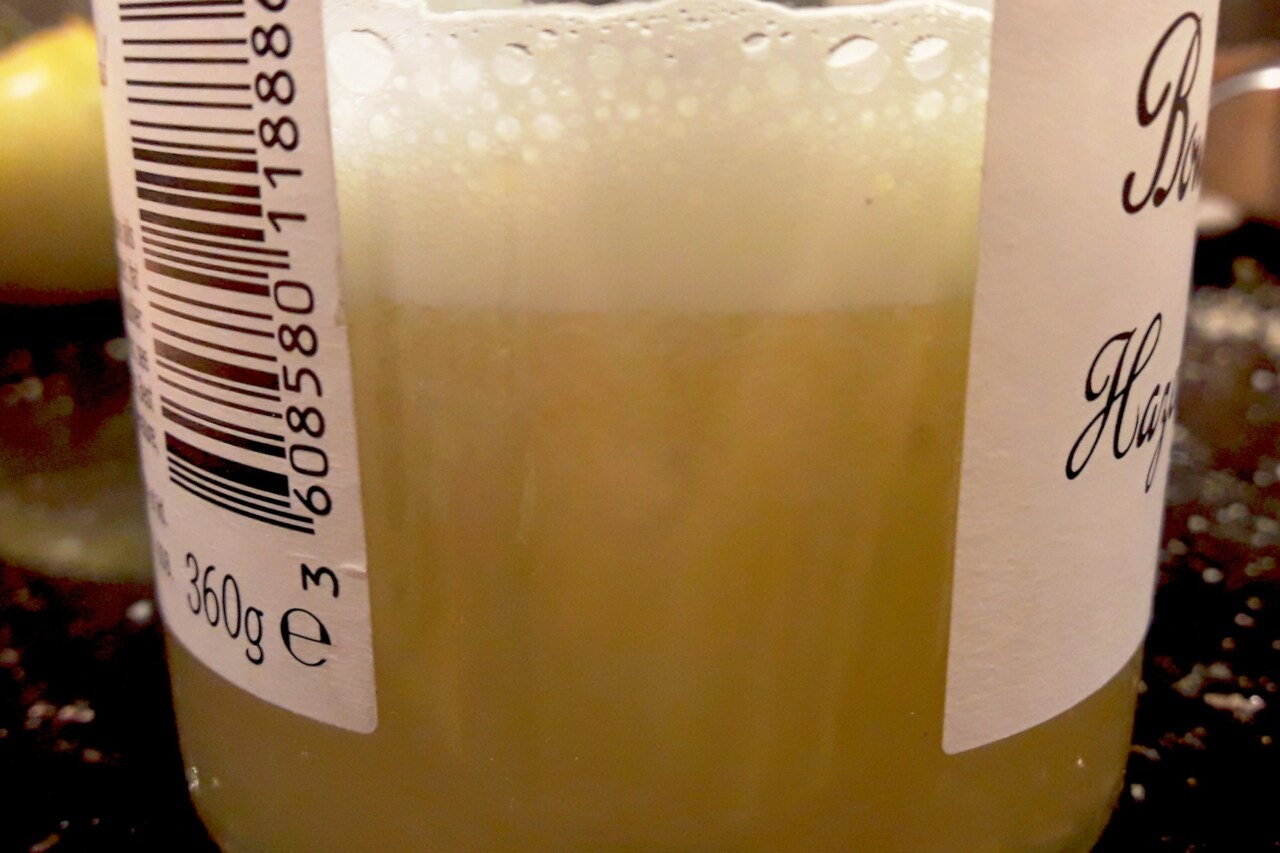
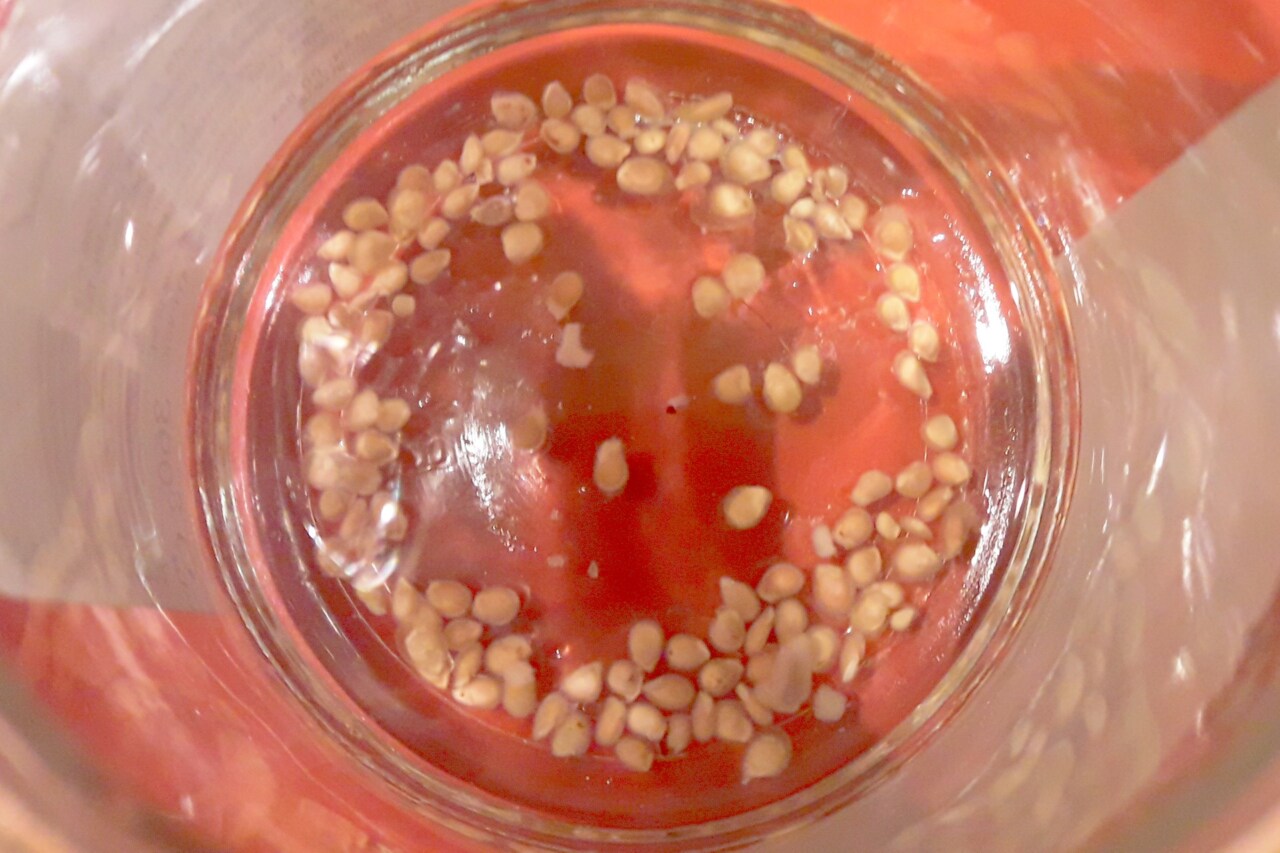
Now we need to clean and dry them. Place the seeds and the goo that surrounds them into a jam jar. Add tap water until the jar is half-full. Close tightly and shake really vigorously for a short time. This will produce a very cloudy liquid and a fair amount of foam. Wait a few seconds and slowly pour off the goo; good seeds usually float to the bottom. Rinse and repeat until there are just seeds in clear liquid (takes two or three goes). The cleaner they are the easier the rest will be

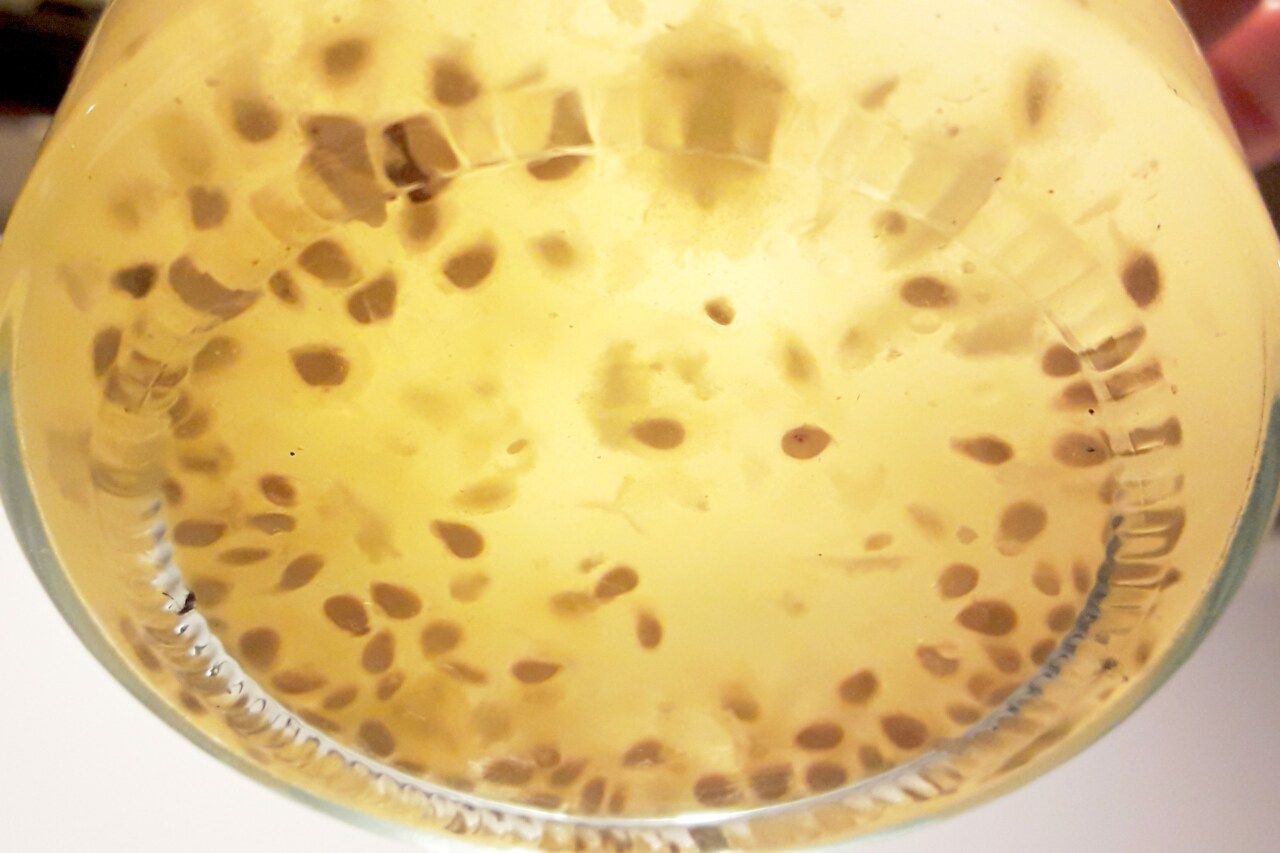
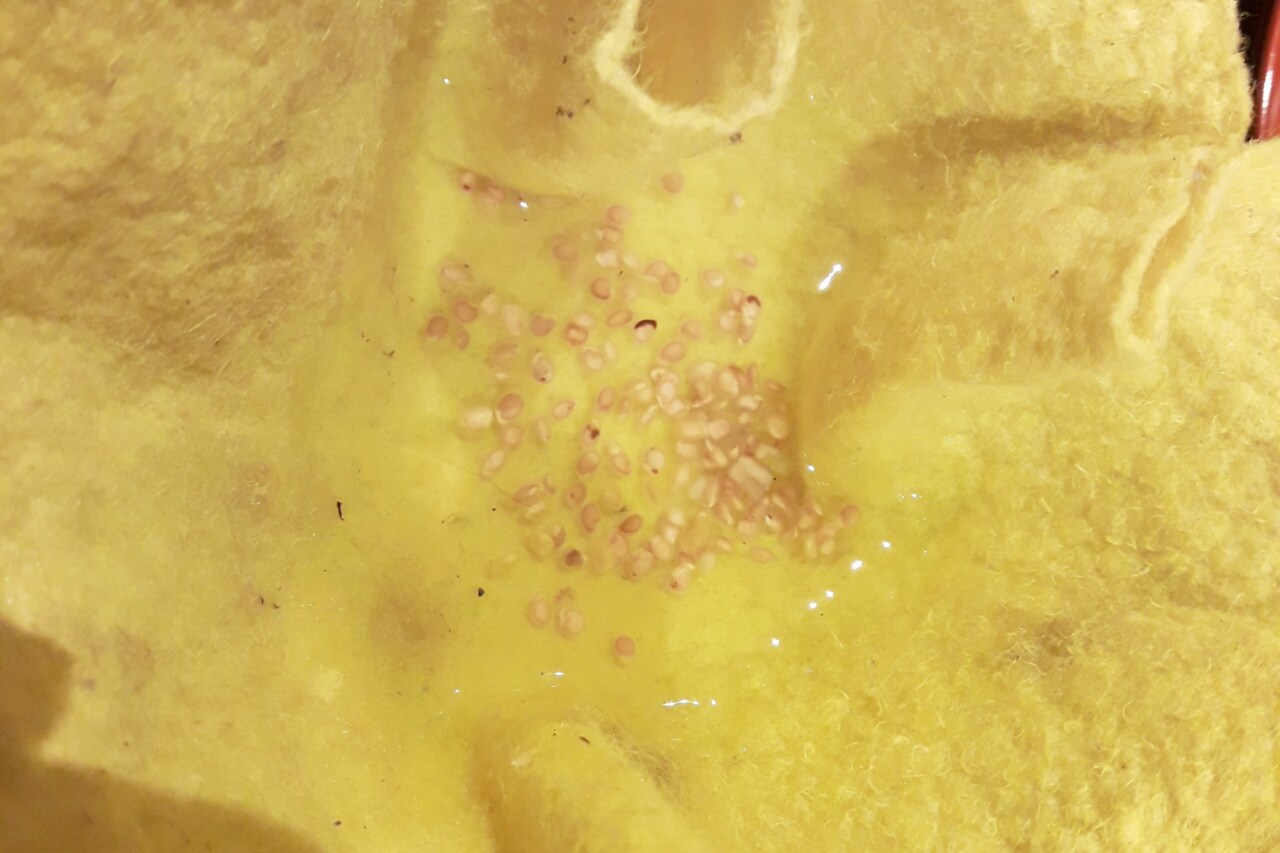
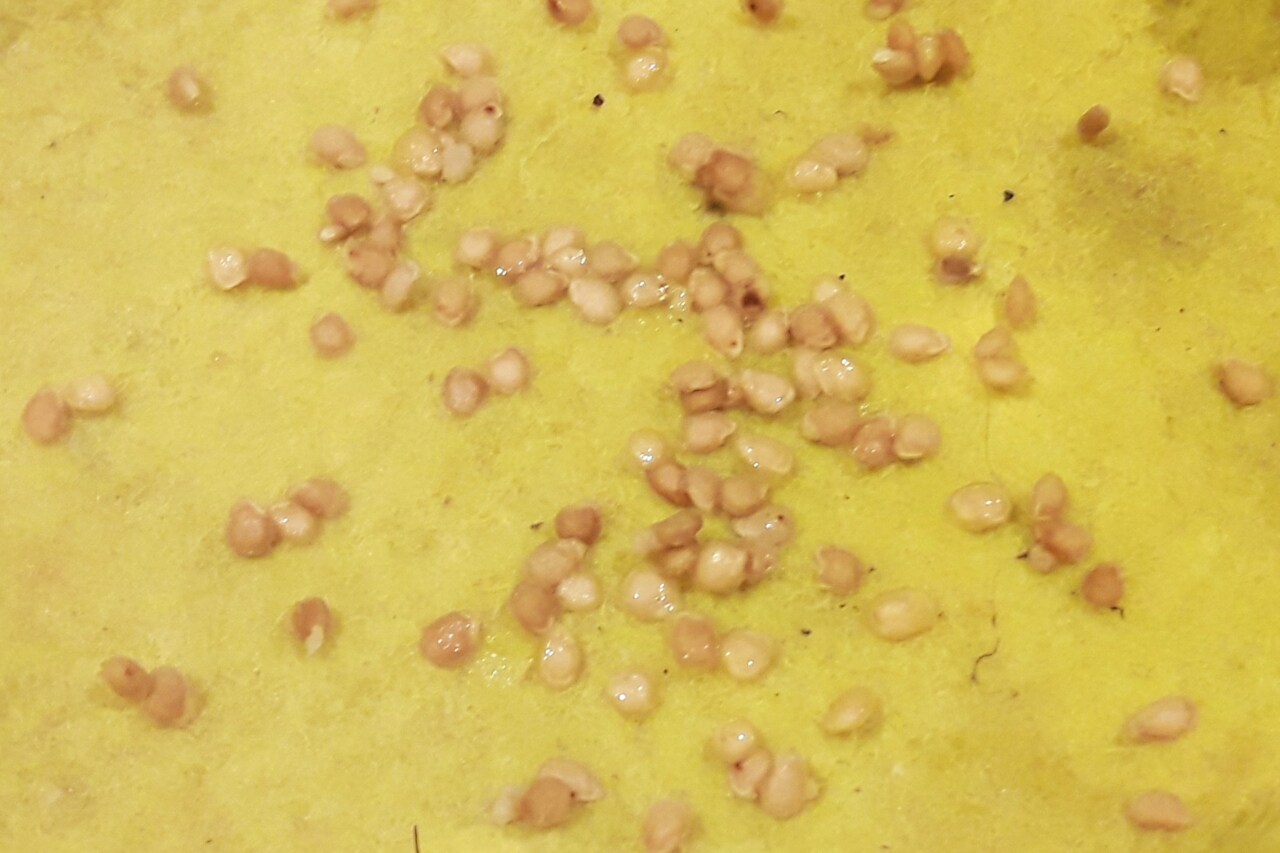
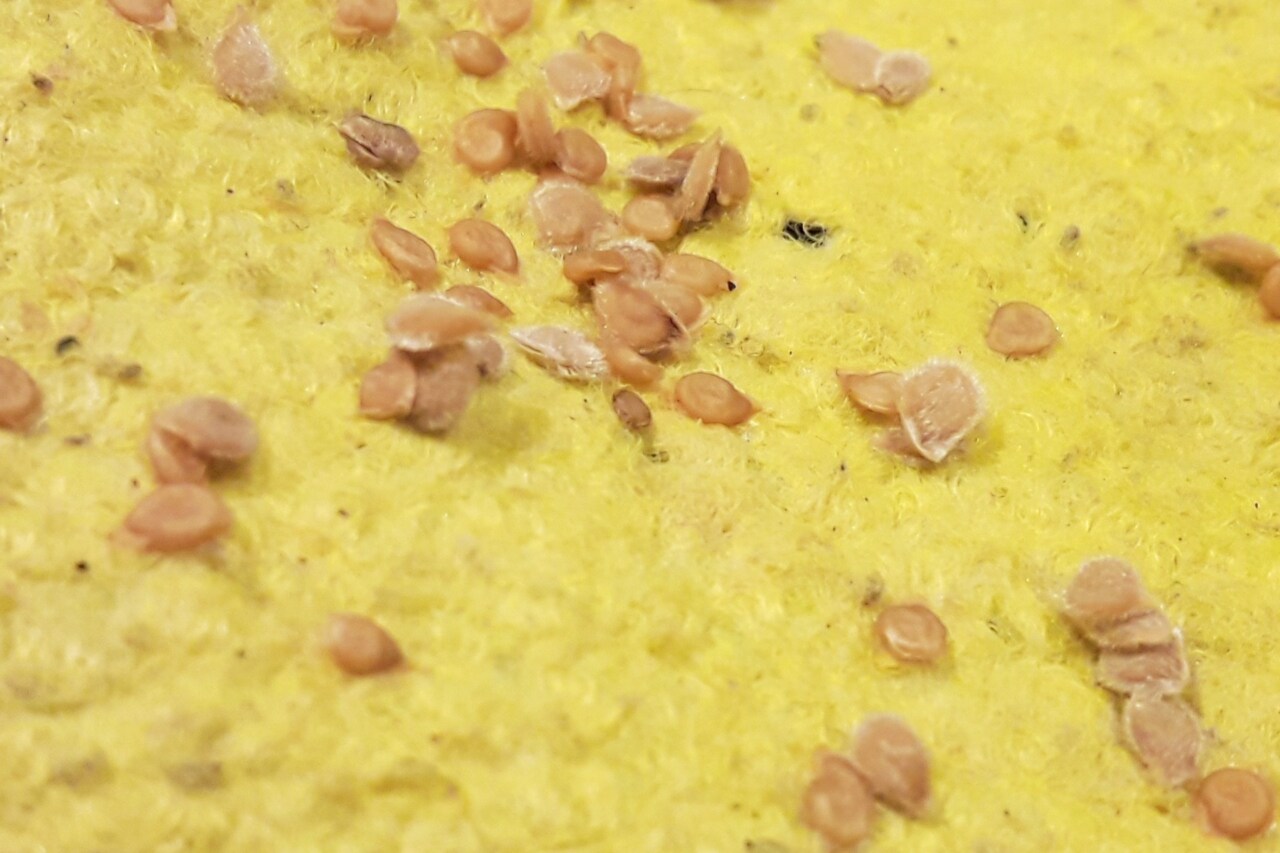
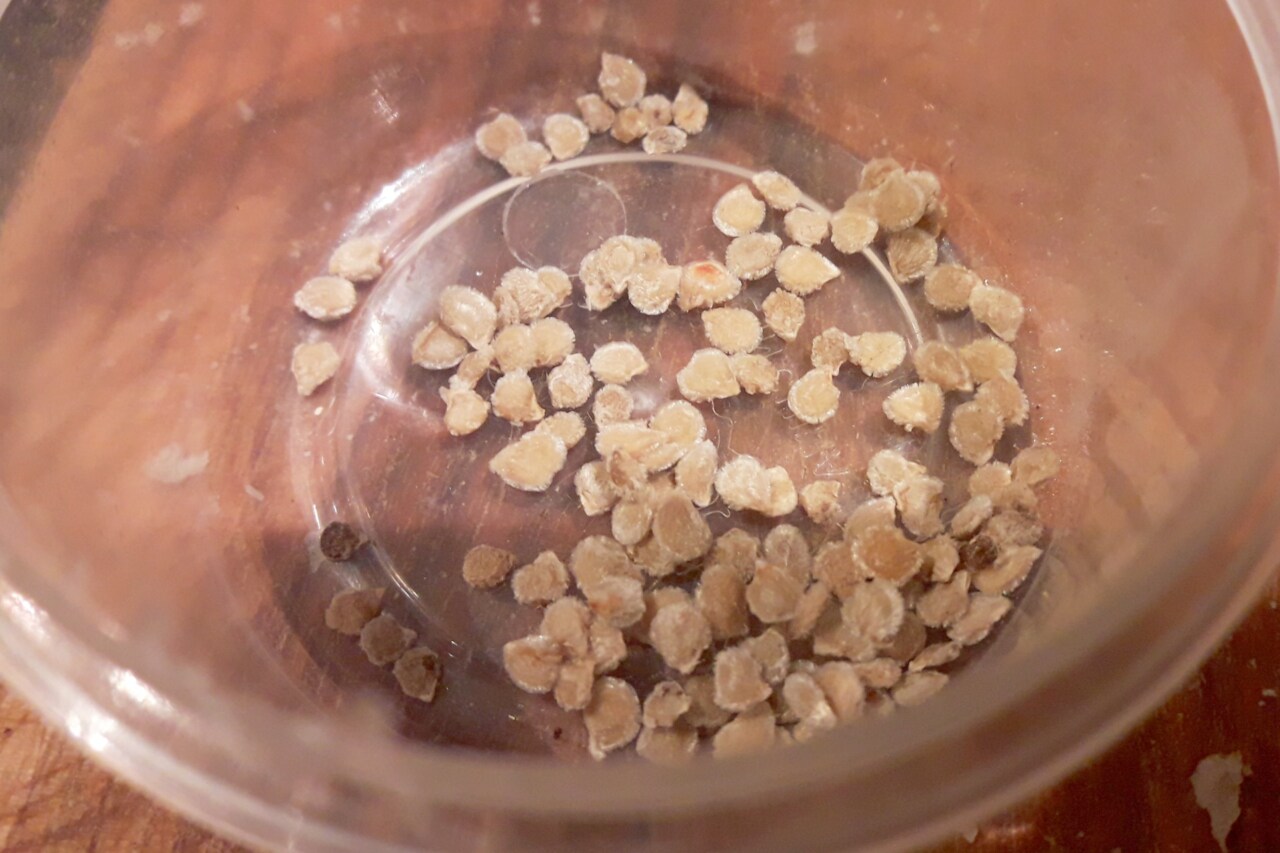
Now pour them out onto a felt cloth or sieve and let them air dry. You’ll know they are dry when the “fur” that typically surrounds tomato seeds becomes visible. Peel them off gently with your fingernails, to be sure you don’t damage the little fellers. They can be stored in a dry place or in the fridge until Spring. Make sure you have at least 20 seeds, so you can fix mistakes and discard any weaklings
II – Germinate
It’s late February or early March, Spring should be around the corner, the days are getting longer. It is far too early to put any plants outside, but you can certainly get them going early in the home. Tomatoes are very easy to germinate; as long as they are moist and warm (over 16C) within 3-4 days they will all have the main root appear (looks like a tiny white tongue)
Put them near a radiator that’s in regular use, or keep them by your bedside; they don’t need bright light, just a cozy spot that never gets too cold or hot and do not allow them to dry out. To help with this, place them directly over a thin layer of drenched sandy soil, or a few pieces of tissue paper. Tomatoes are tough in all stages of their life, so if you do let them dry out you should be able to revive them
Once the seed have a clearly visible root, you can individually lift them out or take a small group and place them in a bigger container with (more) soil. If you have small pots – plastic pots from shop-bought desserts are ideal, just punch a couple of holes at the base to allow too much water to drain out
III – Child Care
The first thing the seedling will do is gain a firm foothold and grow upwards. While it is doing so, the two first leaves inside the seed will be swelling up to force open their tiny enclosure. It’s crucial to keep their growing area humid so the seed rips open easily on its own; you may help them with this, but it’s really delicate work! The best location for them is a warm place because that will serve to stimulate growth and create humidity. A heating pad with temperature or time control gives the best results!
Don’t feed the seedlings but do water small amounts regularly so the surface of the soil looks dark but not glistening (water-logged). It won’t be long before the next set of leaves appear. As with all seedlings, some light is required to stop them from growing too long and thin. It’s natural for them to gain length in low light, but it does make them more fragile
IV – Feed Me Seymour
Tomatoes are hungry plants. They will grow and fruit best if they are continually fed and watered. Depending on the size of the container and the number of plants in it, you’ll be watering daily or once every few days; the plants will make it very clear when they are thirsty. Feeding depends on their size and will take some practice. Err of the side of caution. An underfed tomato turns yellow and doesn’t “look happy”, an overfed tomato will wilt even if its soil is moist and will look equally unwell! Double the dose if you’re underfeeding or flush the nutrients out with rainwater and don’t feed or water until the soil becomes dry. In both cases the plants are in shock and will take some time to recover, observe over the next two weeks, and repeat if necessary. For a guide on how to feed plants in general check the plant restaurant page
V – Someone to lean on
Tomatoes vines, but unlike many vines, they haven’t developed strong grappling techniques other than using their coarse exterior to climb through other plants. Tomato fruits are heavy too and you will notice that when fruits develop the plant will sag and sometimes break. Supporting them is not an exact science, but generally speaking supporting the main stem is a must, any other support can be given as needed
posted on:

